Let me say first, I love Ravelry. Before I take on any project, I like to check out if other knitters have tackled it, what problems they've had, colors they've used and what a finished knit really looks like on a regular person. Ravelry has really streamlined the process. As always, there are some patterns that no on else has made, so I'm on my own, but when there are projects out there, Ravelry has really streamlined the process of getting information.
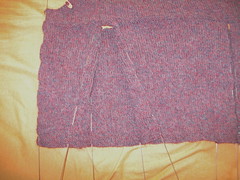
So, when I read that people were having issues with their Patti pleats staying closed, I was a bit concerned. A few knitters mentioned needed to tack the pleats down so they weren't so billowy. Extra volume is not something that I need at this point in my life.
There was a bit of odd wording in the pattern that might have lead to the billowing pleats, but I don't know what they did, so I can't make any assumptions. The pattern uses slip stitches to get the pleats to pleat, but after some instructing to decrease, it states to continue straight and not in the established slipped stitches [I guess that last sentence won't make sense unless your working the pattern, but I just decided to throw it in, in case someone is reading this as research].
So in order to try to make my pleats behave, I took extra steps in the blocking process.
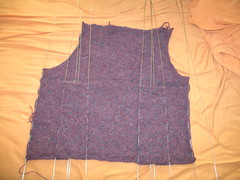
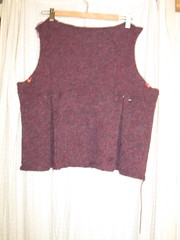
And now I have a wonderfully raining day to sit back on work on sleeve #2. Could there be a finished Patti on the horizon?


|